
Image 1: The shorted wire. I had already cracked open the case when I took this shot.
My Powerbook power chord recently shorted, and I was not willing to dish out $40+ to buy a new one. So, knowing a fair amount wiring and soldering from my physics lab work, I decided to try to fix it myself. Problem was, I didn’t have the equipment needed, namely a soldering iron and solder. But, I did have a hammer and screwdriver, which worked to break open the well-sealed AC adaptor casing.
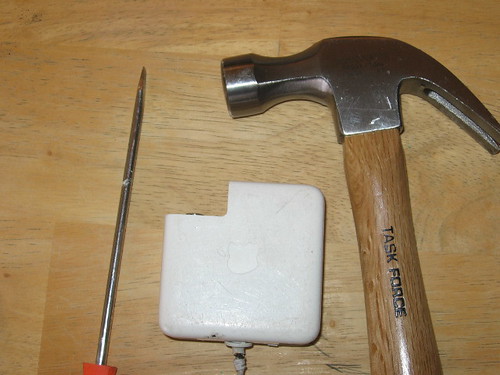
Image 2: Some brute force was needed to crack open the casing.
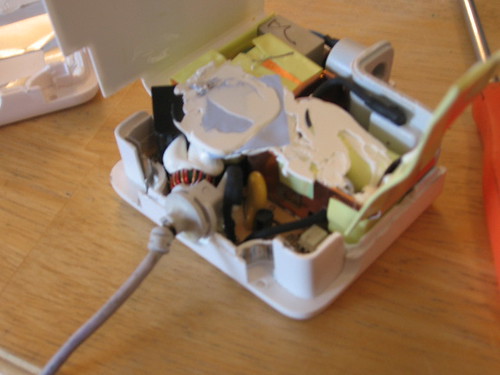
Image 3: The exposed inside of the casing.
Opening the casing revealed some fun electronics, which take the 120 V AC current and turn it into 24 V DC current at 2.5 amps. That all isn’t the problem though, it’s just the shorted wire right on the outside of the casing. But, now I needed some tools. In the lab I worked in at the University of Portland, I knew exactly where the equipment was that I needed. But in Indy, I didn’t have that equipment. So I headed over to IUPUI and within a few minutes found a physics grad student who let me into one of the labs that had (almost) all I wanted.
I proceed to cut the wire, take out the plastic thing that brought the wires together, and strip it to be able to put the pieces together.
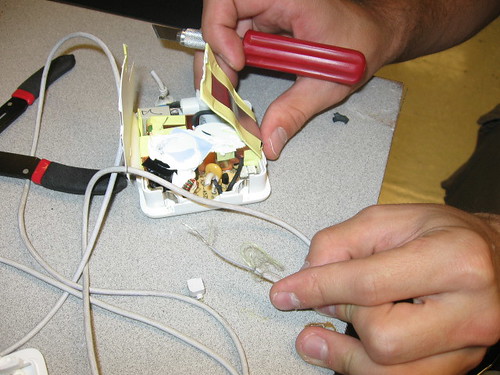
Image 5a: The wire, stripped and ready to be soldered together.
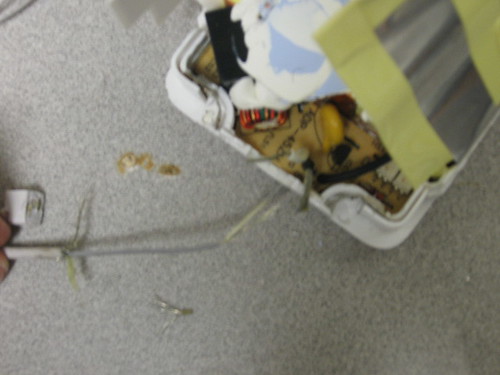
Image 5b: Overhead view: The wires, stripped and ready to be soldered together.

Image 6: The soldering iron at work.
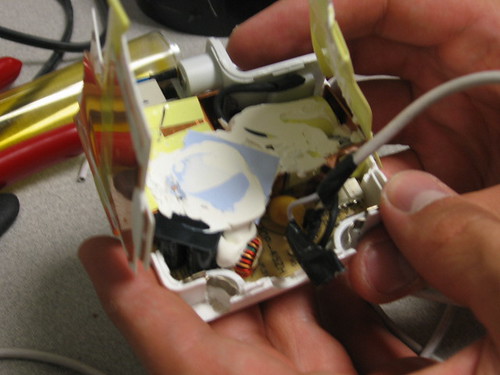
Image 7: The wires, soldered and with duct tape around them (alas, there was no electrical tape around).
After stripping the wires, it was fairly easy to solder them together and then wrap tape around them. The wires were quite brittle, and had an annoying fiber in there to strengthen the wire, but it just took a little careful handling to pull them apart. I soldered the ground to the cladding and the positive voltage wire to the center wire of the chord that goes to the computer. When the soldering and taping was done, I stuck the wires back inside the casing and closed it up again. Since the casing was broken, I needed to tape it all back together, using some more duct-tape.
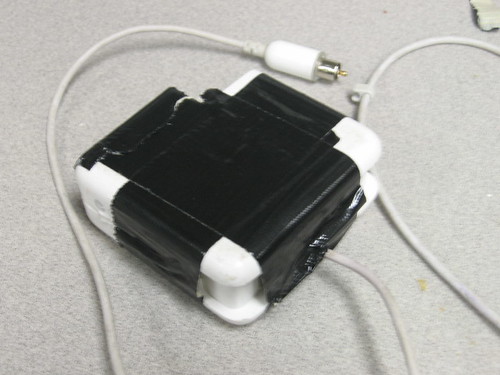
Image 8: The casing, duck-taped back together.
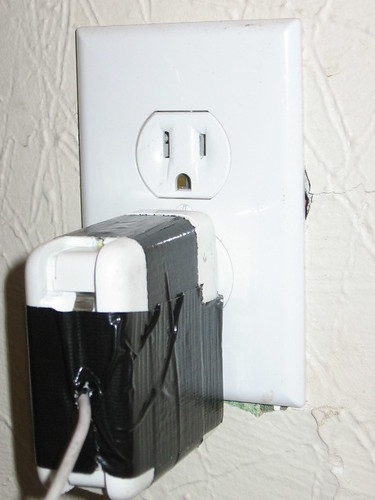
Image 9: Plug it in…
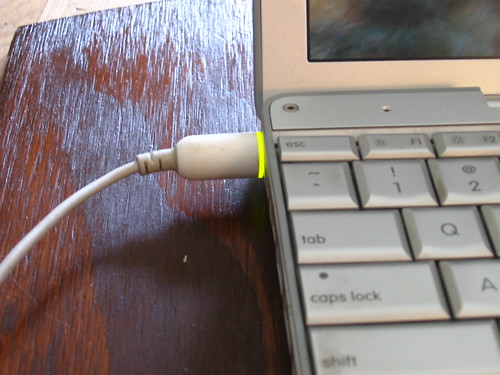
Image 10: Success! The Powerbook is charging.
Plugging it in, the computer started to charge. Checking the temperature of the AC converter, it’s certainly no hotter than a normal one. After a day of use, it continues to work just as it should. After I was done, I looked around online and found at least one other place that does a similar thing to solve the same problem.
Last Updated: September 24th, 2007